How to Replace Your Garage Door Remote: A Step-by-Step Guide
Garage door remotes make accessing your garage convenient, but when they stop working or get lost, it can be frustrating. Replacing your garage door remote is easier than you might think. In this guide, we’ll walk you through the process to ensure your new remote is up and running in no time.
Step 1: Identify the Brand and Model of Your Garage Door Opener
Before purchasing a replacement remote, you need to determine the brand and model of your garage door opener. Look for the information:
- On the motor unit of your garage door opener (usually mounted on the ceiling of your garage).
- In the user manual of your garage door opener.
- On the back of your current remote, if available.
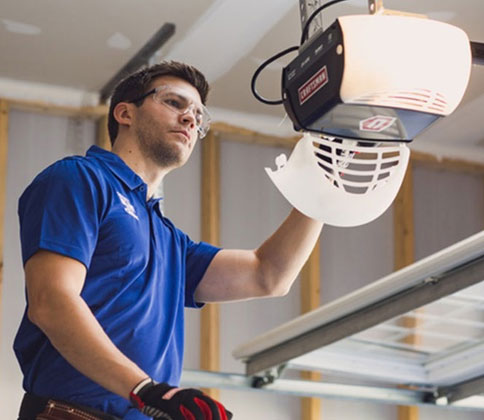
Common brands include LiftMaster, Chamberlain, Genie, and Craftsman. The model number is crucial to ensure compatibility with your new remote.
Step 2: Purchase a Compatible Remote
Once you know the brand and model, shop for a compatible remote. You can purchase remotes:
- From the manufacturer’s website.
- At a local hardware store.
- Through online retailers like Amazon.
Make sure the remote’s specifications match your garage door opener’s model number and frequency.
Step 3: Program the New Remote
Programming your new garage door remote is straightforward. Here’s how to do it:
- Locate the “Learn” Button:
- The “Learn” button is typically found on the back or side of the garage door opener motor unit.
- It may be labeled as “Learn” or “Program” and is often a different color, like yellow, purple, or red.
- Press the “Learn” Button:
- Press and release the “Learn” button. A light will usually flash to indicate that the opener is in programming mode.
- Activate the Remote:
- Within 30 seconds of pressing the “Learn” button, press the main button on your new remote. Hold it down for a few seconds until the garage door opener’s light blinks or you hear a click.
- Test the Remote:
- Press the button on the remote to ensure it opens and closes the garage door properly.
Step 4: Troubleshoot If Necessary
If your new remote doesn’t work, try these troubleshooting steps:
- Check the Batteries: Ensure the remote has fresh, properly installed batteries.
- Repeat Programming: Sometimes, it takes a couple of attempts to sync the remote.
- Verify Compatibility: Double-check that the remote is compatible with your garage door opener.
- Reset the Opener: If multiple remotes aren’t working, reset the opener and reprogram all remotes.
Step 5: Secure Your Garage
Once your new remote is working, consider these additional steps to enhance security:
- Erase Old Remotes: If you’ve lost your old remote, erase all programmed remotes from the garage door opener by holding down the “Learn” button for about 10 seconds. Then, reprogram only the remotes you want to use.
- Upgrade to a Keypad or Smart Opener: For added convenience and security, consider installing a garage door keypad or a smart garage door opener that allows control via a smartphone app.
When to Call a JB Garage Door Repair Professional
If you’ve followed the steps above and your new remote still isn’t working, there might be an issue with the garage door opener itself. In this case, it’s best to call us as a professional garage door technician to inspect and resolve the problem.
Conclusion to How to Replace Your Garage Door Remote
Replacing a garage door remote doesn’t have to be complicated. With the right tools and a little patience, you can easily get your new remote working and enjoy the convenience of seamless garage access. Follow this guide, and you’ll be back to opening your garage door with ease in no time!
For more tips and troubleshooting advice, check out our other blog posts or contact us for professional garage door services.